Blog Details
Post by Daniel Morris | Date: 27-08-2025
The Best Time of Day to Photograph Homes in the Northeast
Introduction
In real estate photography, timing is everything. The same home can look dramatically different depending on the time of day it’s photographed. From the warm glow of early morning to the dramatic colors of twilight, lighting plays a huge role in how buyers perceive a property online.
If you want your listing photos to stand out, understanding when to schedule your shoot is just as important as how the photos are taken. In this post, we’ll explore the best times of day to photograph homes in the Northeast, taking into account lighting, weather, and seasonal conditions that can make or break a photo session.
Download Our Photo Guide for Realtors
1. Why Time of Day Matters in Real Estate Photography
Light is the most important element in photography. The quality, direction, and intensity of light can:
- Enhance colors and textures.
- Make spaces feel larger and more inviting.
- Create mood and atmosphere.
Shooting at the wrong time can result in harsh shadows, blown-out highlights, or dull, flat images — none of which make a home appealing to buyers.

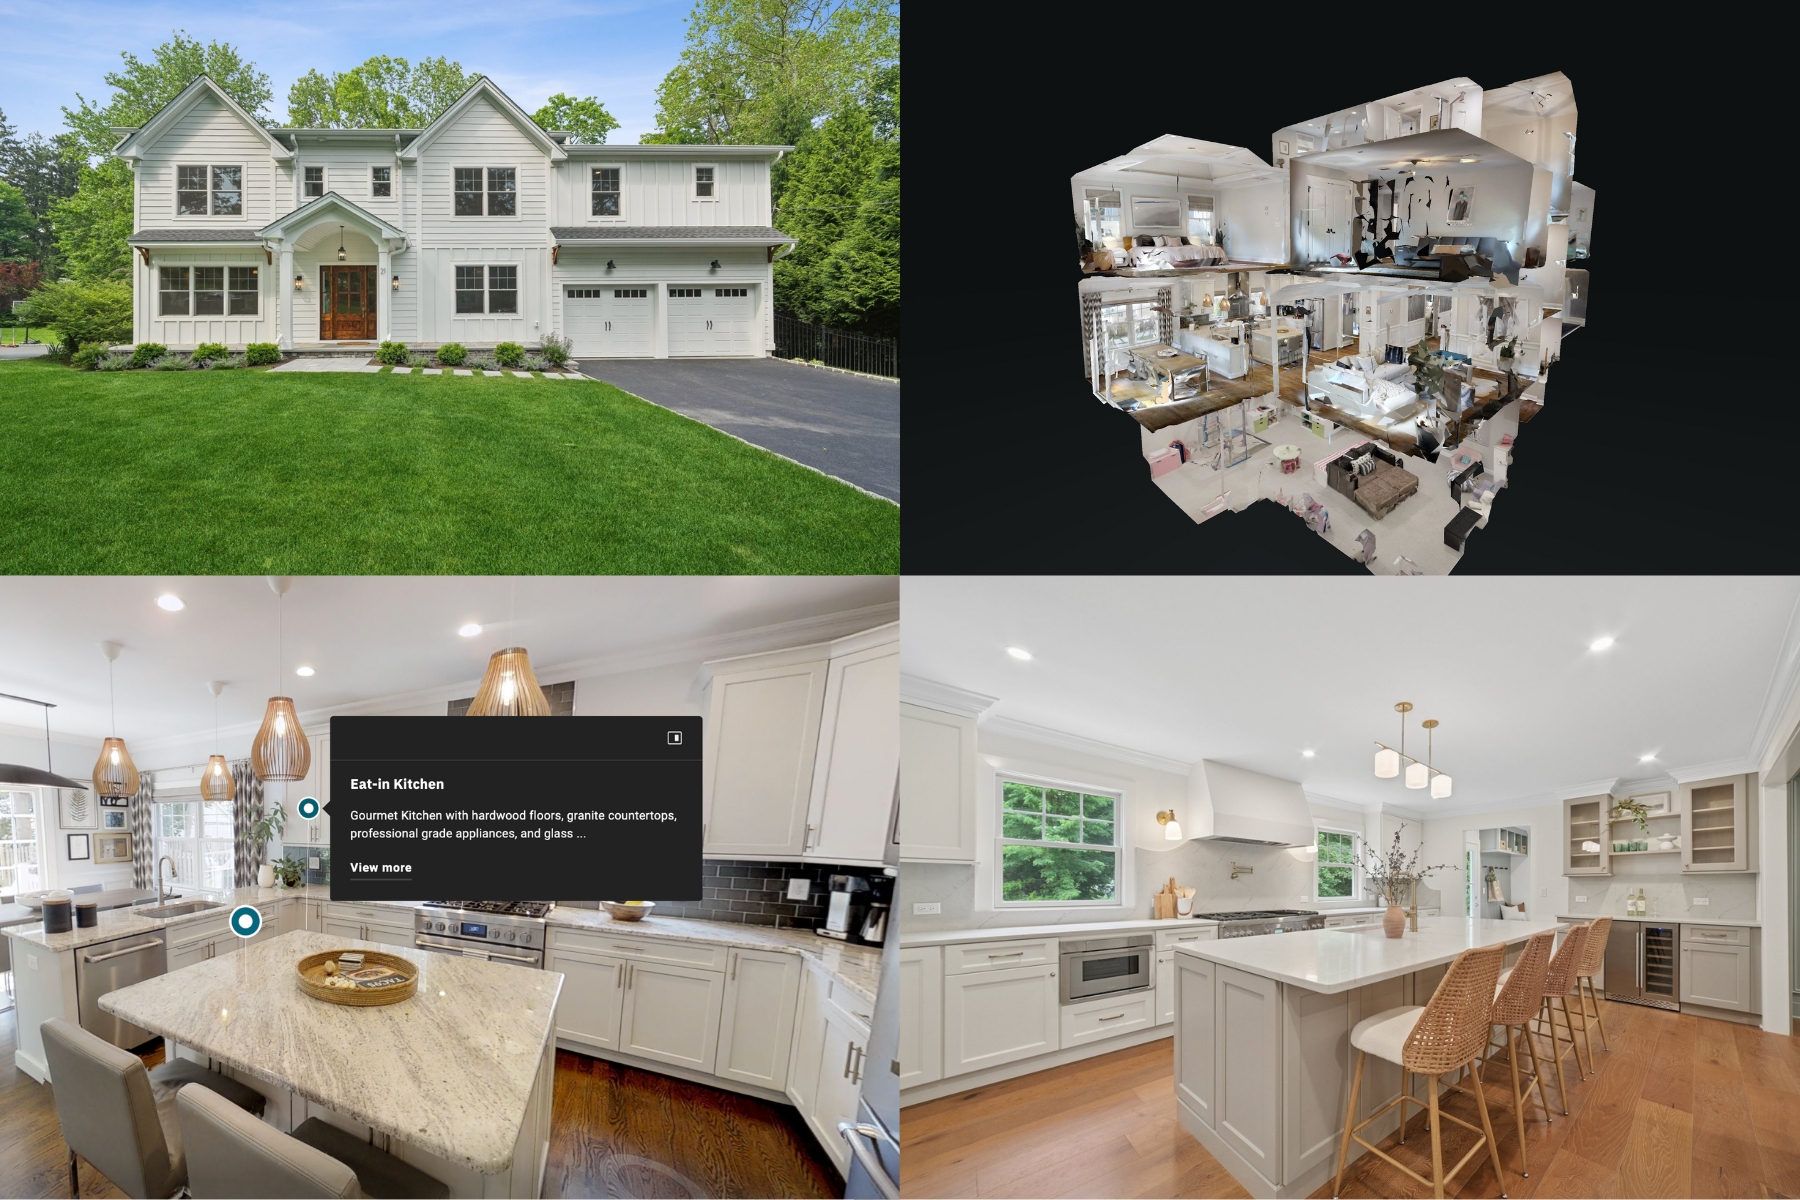
2. Morning Photography (8–10 AM)
Pros:
- Soft, even lighting in the interior with fewer harsh shadows.
- Cool, fresh colors that make interiors look crisp.
- Often less foot and vehicle traffic outside for cleaner exteriors.
Best for:
- East-facing homes that catch the morning sun.
- Properties with lots of glass, where morning light creates a bright, airy feel.
Considerations:
- West-facing homes do not benefit from morning photography. The sun could be in a position behind the home and cause glare for your front shot [which is usually a property’s most important photograph
- Tree coverage around the home can factor in the quality of the exterior photography. While sunlight on the home is preferred, if there are trees in the line of the sun then you may get some harsh shadows on the face of the home

3. Midday Photography (11 AM–2 PM)
Pros:
- Strong light for bright, shadow-free interiors in certain orientations.
- Great for large, open rooms with skylights.
- The optimal time for photography
Best for:
- Midday sun will get you the most balance lighting for your listings
- Homes where surrounding buildings or trees block light at other times.
Considerations:
- These are the most popular times for photography companies. They often get booked in advance. We recommend allocating 3-5 days ahead of your desired shoot date in order to ensure you can secure a midday booking.

4. Golden Hour Photography (One Hour Before Sunset)
Pros:
- Warm, soft light that makes exteriors glow.
- Long shadows add depth and visual interest.
- Sky colors that make for eye-catching MLS thumbnails.
Best for:
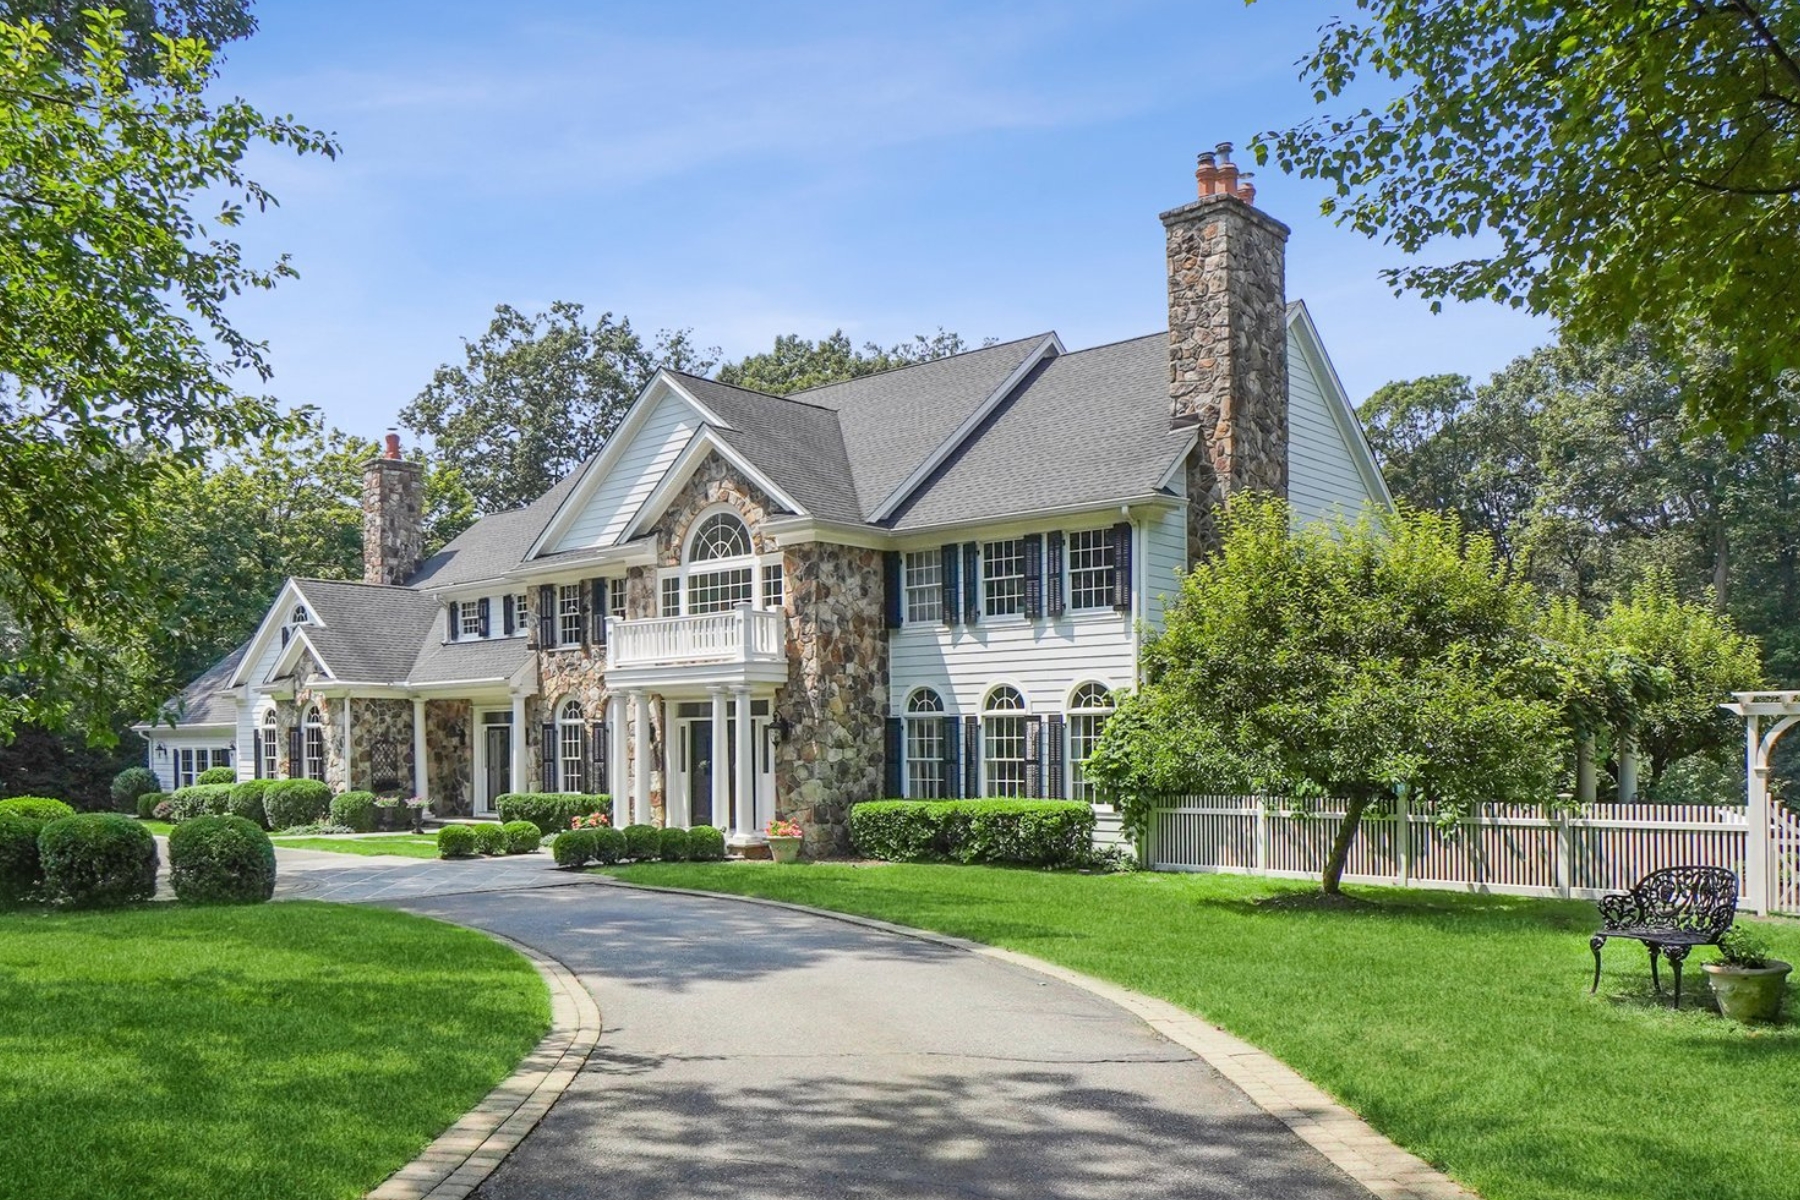
- West-facing homes that light up in the late afternoon.
- Properties with landscaped yards that look lush in warm light.
Considerations:
- Timing is tight — missing the golden hour means losing the effect.
- Can create harsh shadows in west-facing backyards [especially if you want to photograph the back of the home]

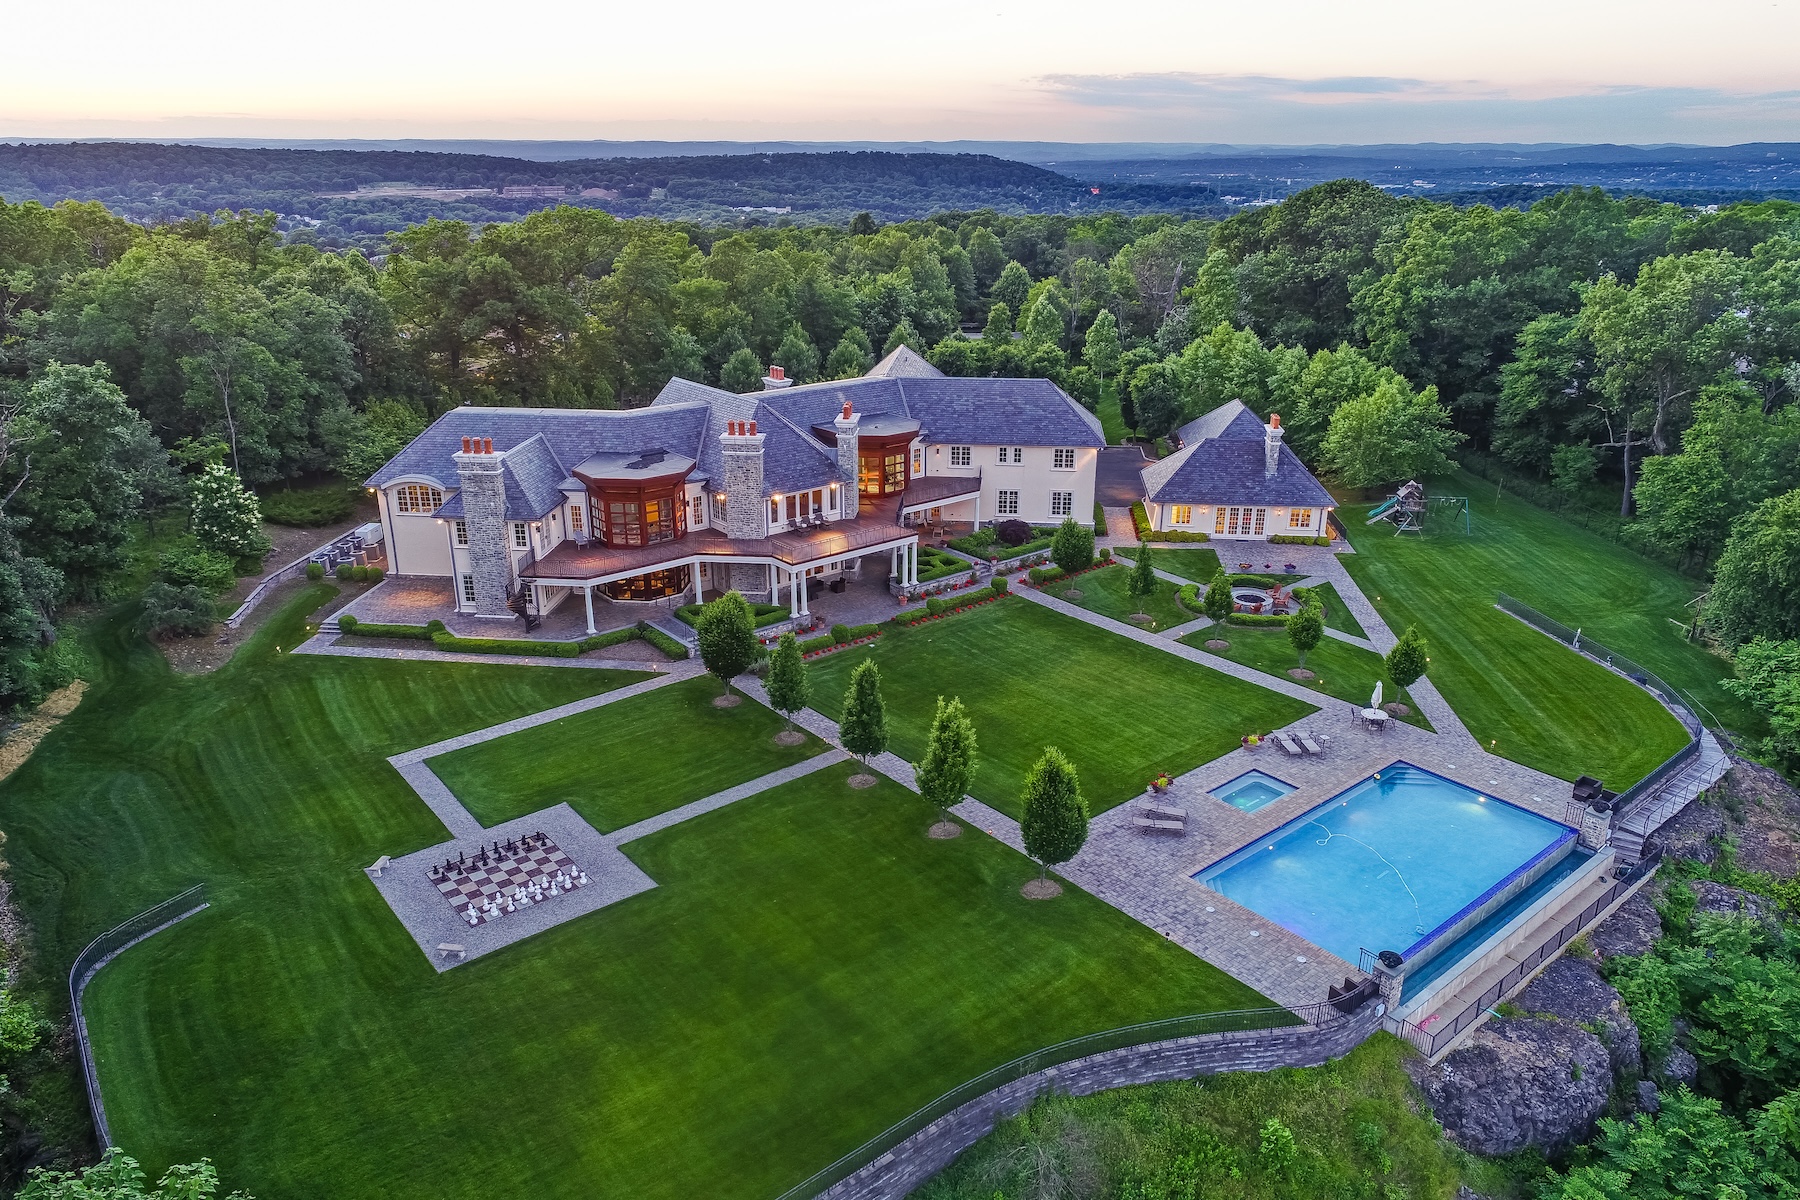
5. Twilight Photography (20–30 Minutes After Sunset)
Pros:
- Balanced light between the home’s interior and the darkening sky.
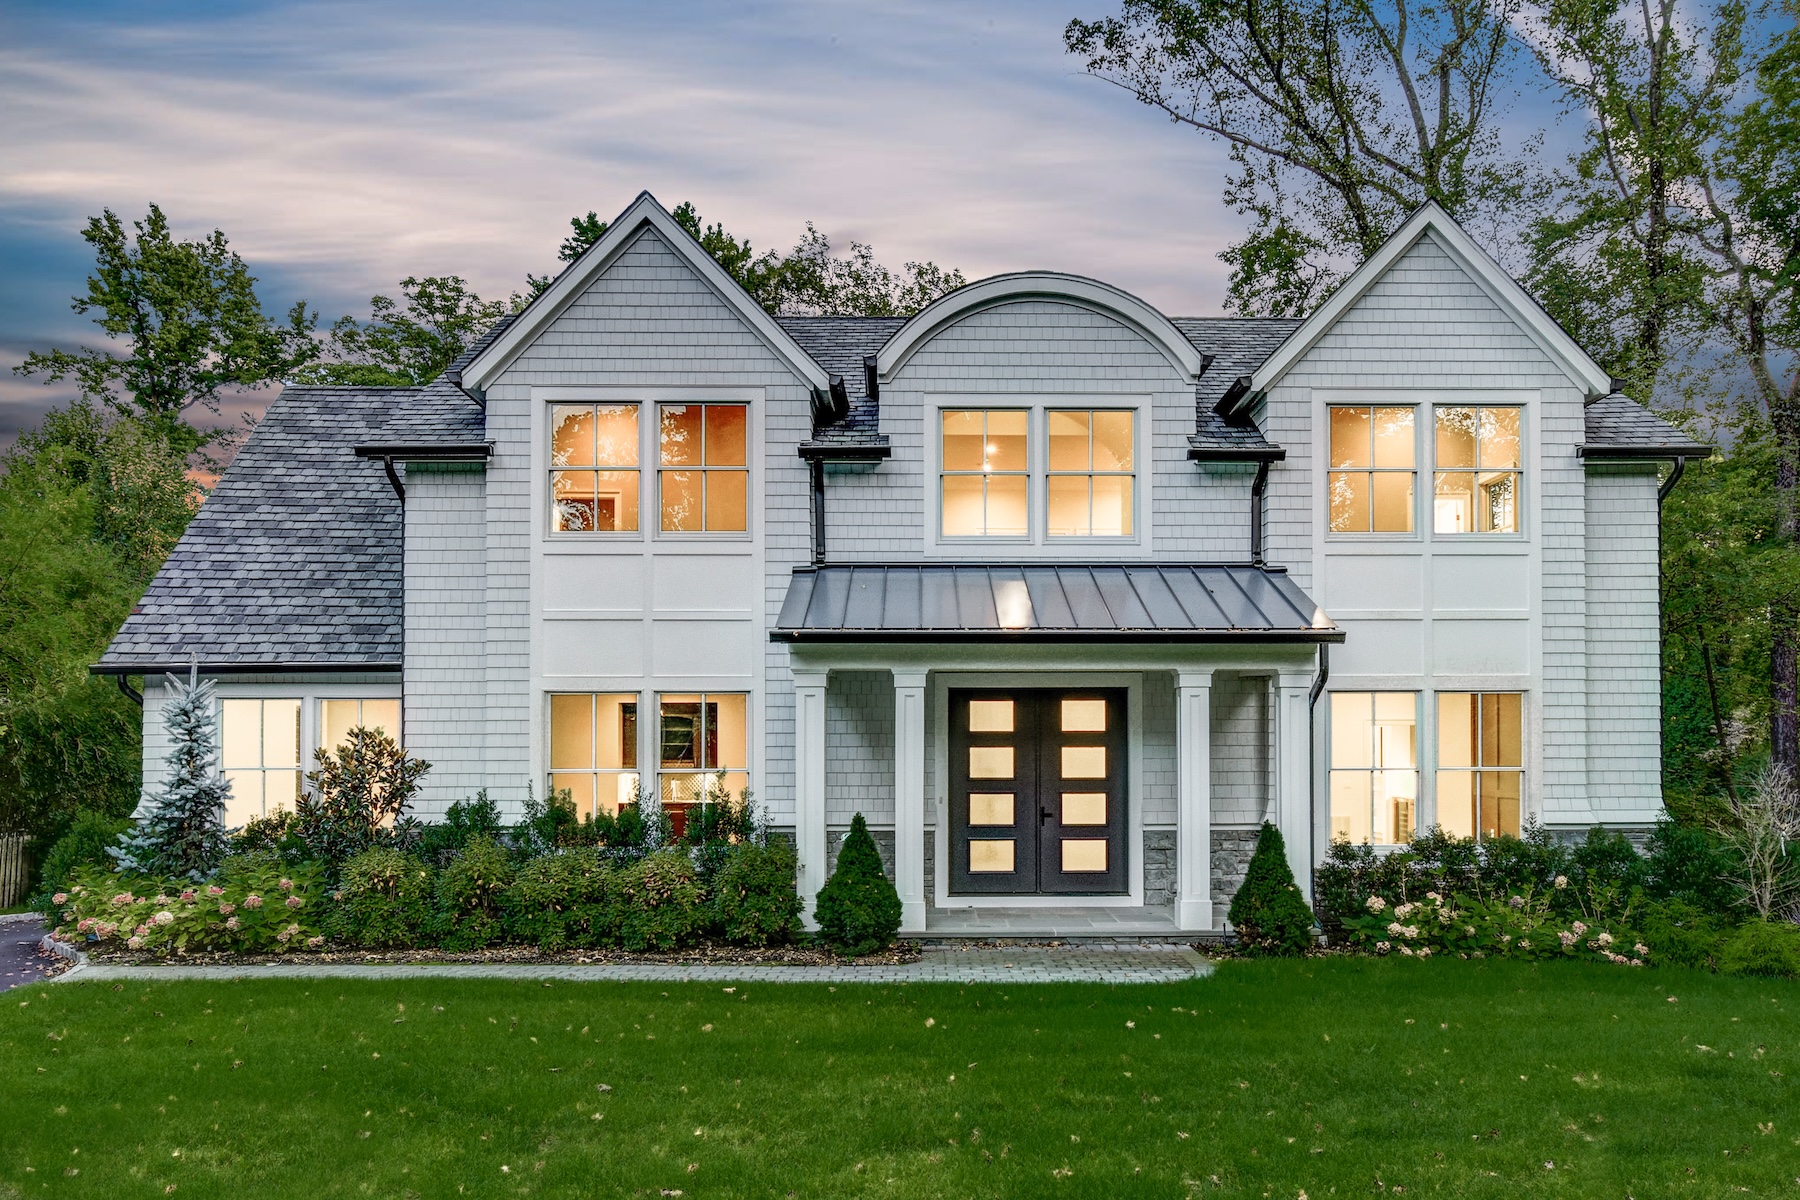
- Creates a luxury, “magazine cover” feel.
- Highlights landscape and architectural lighting.
Best for:
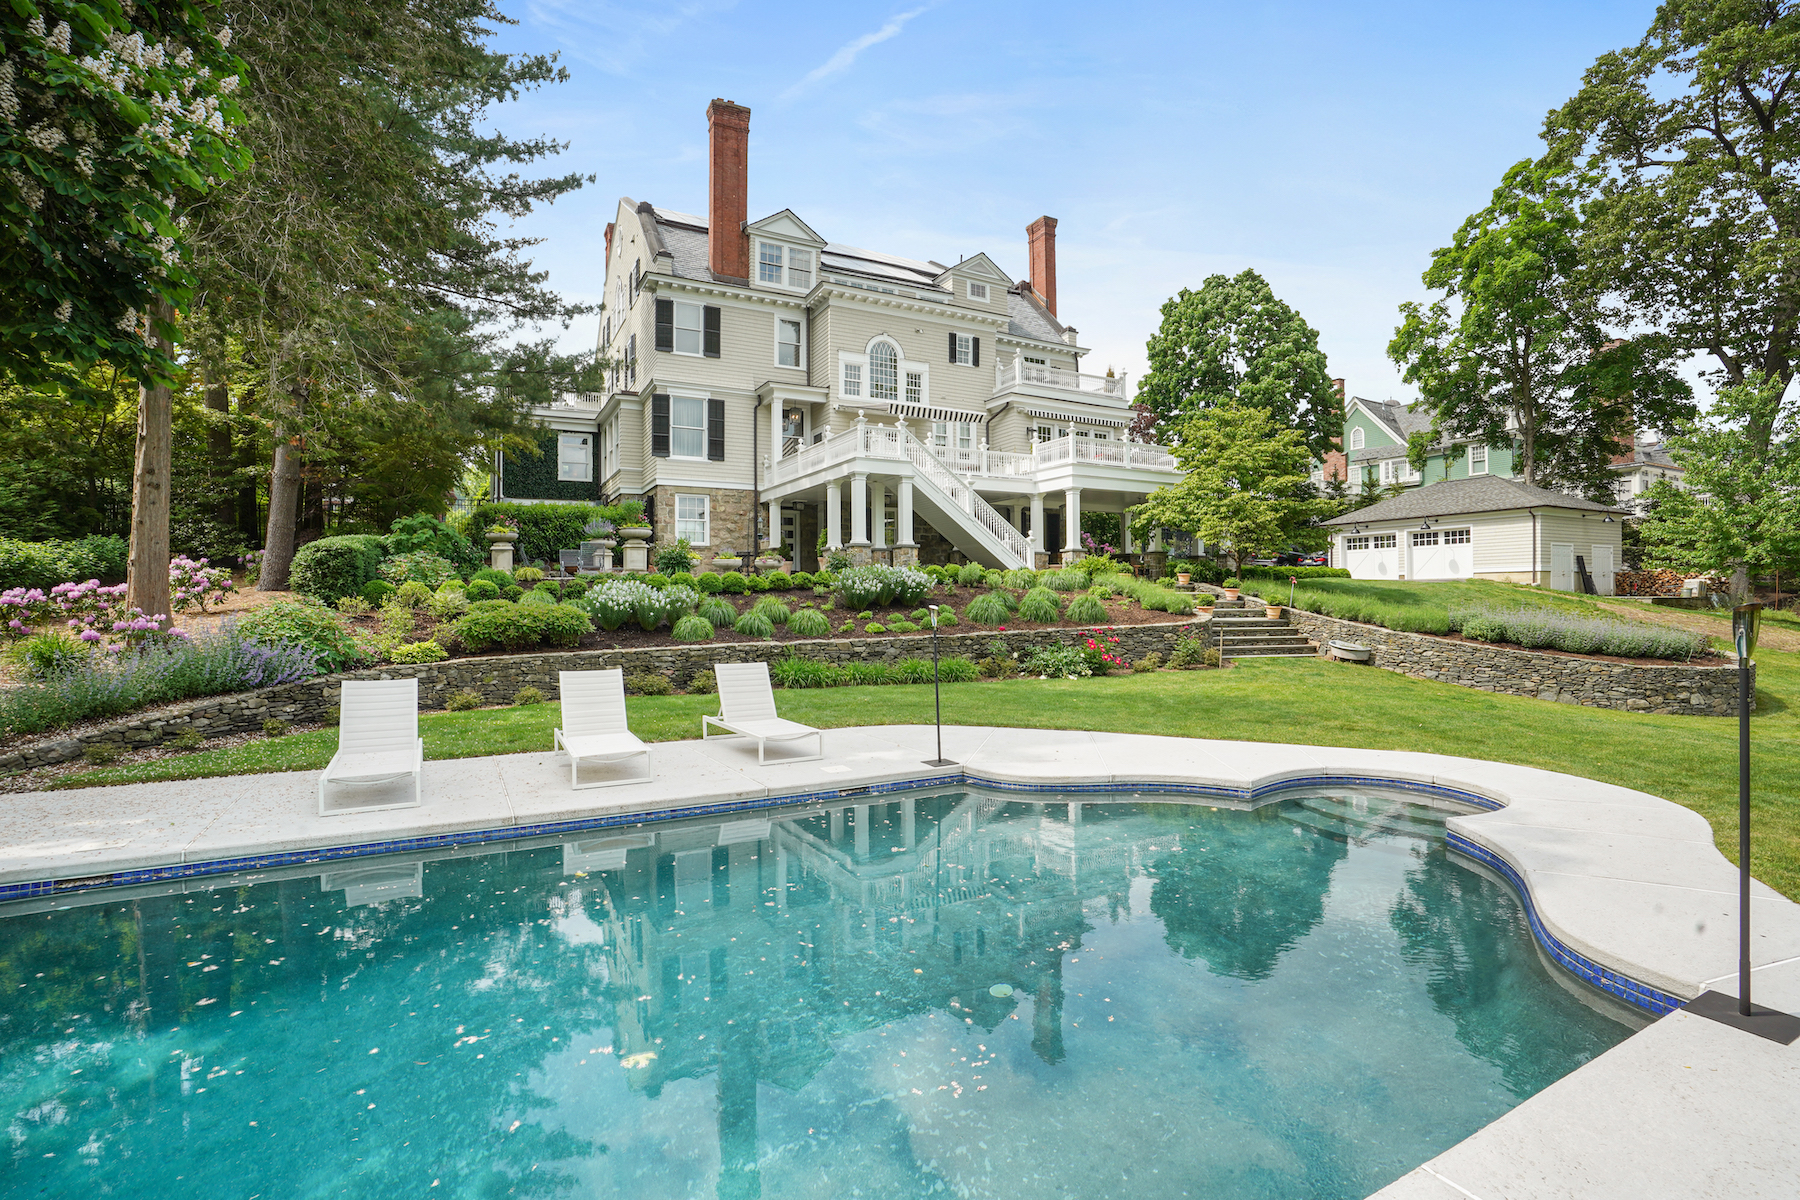
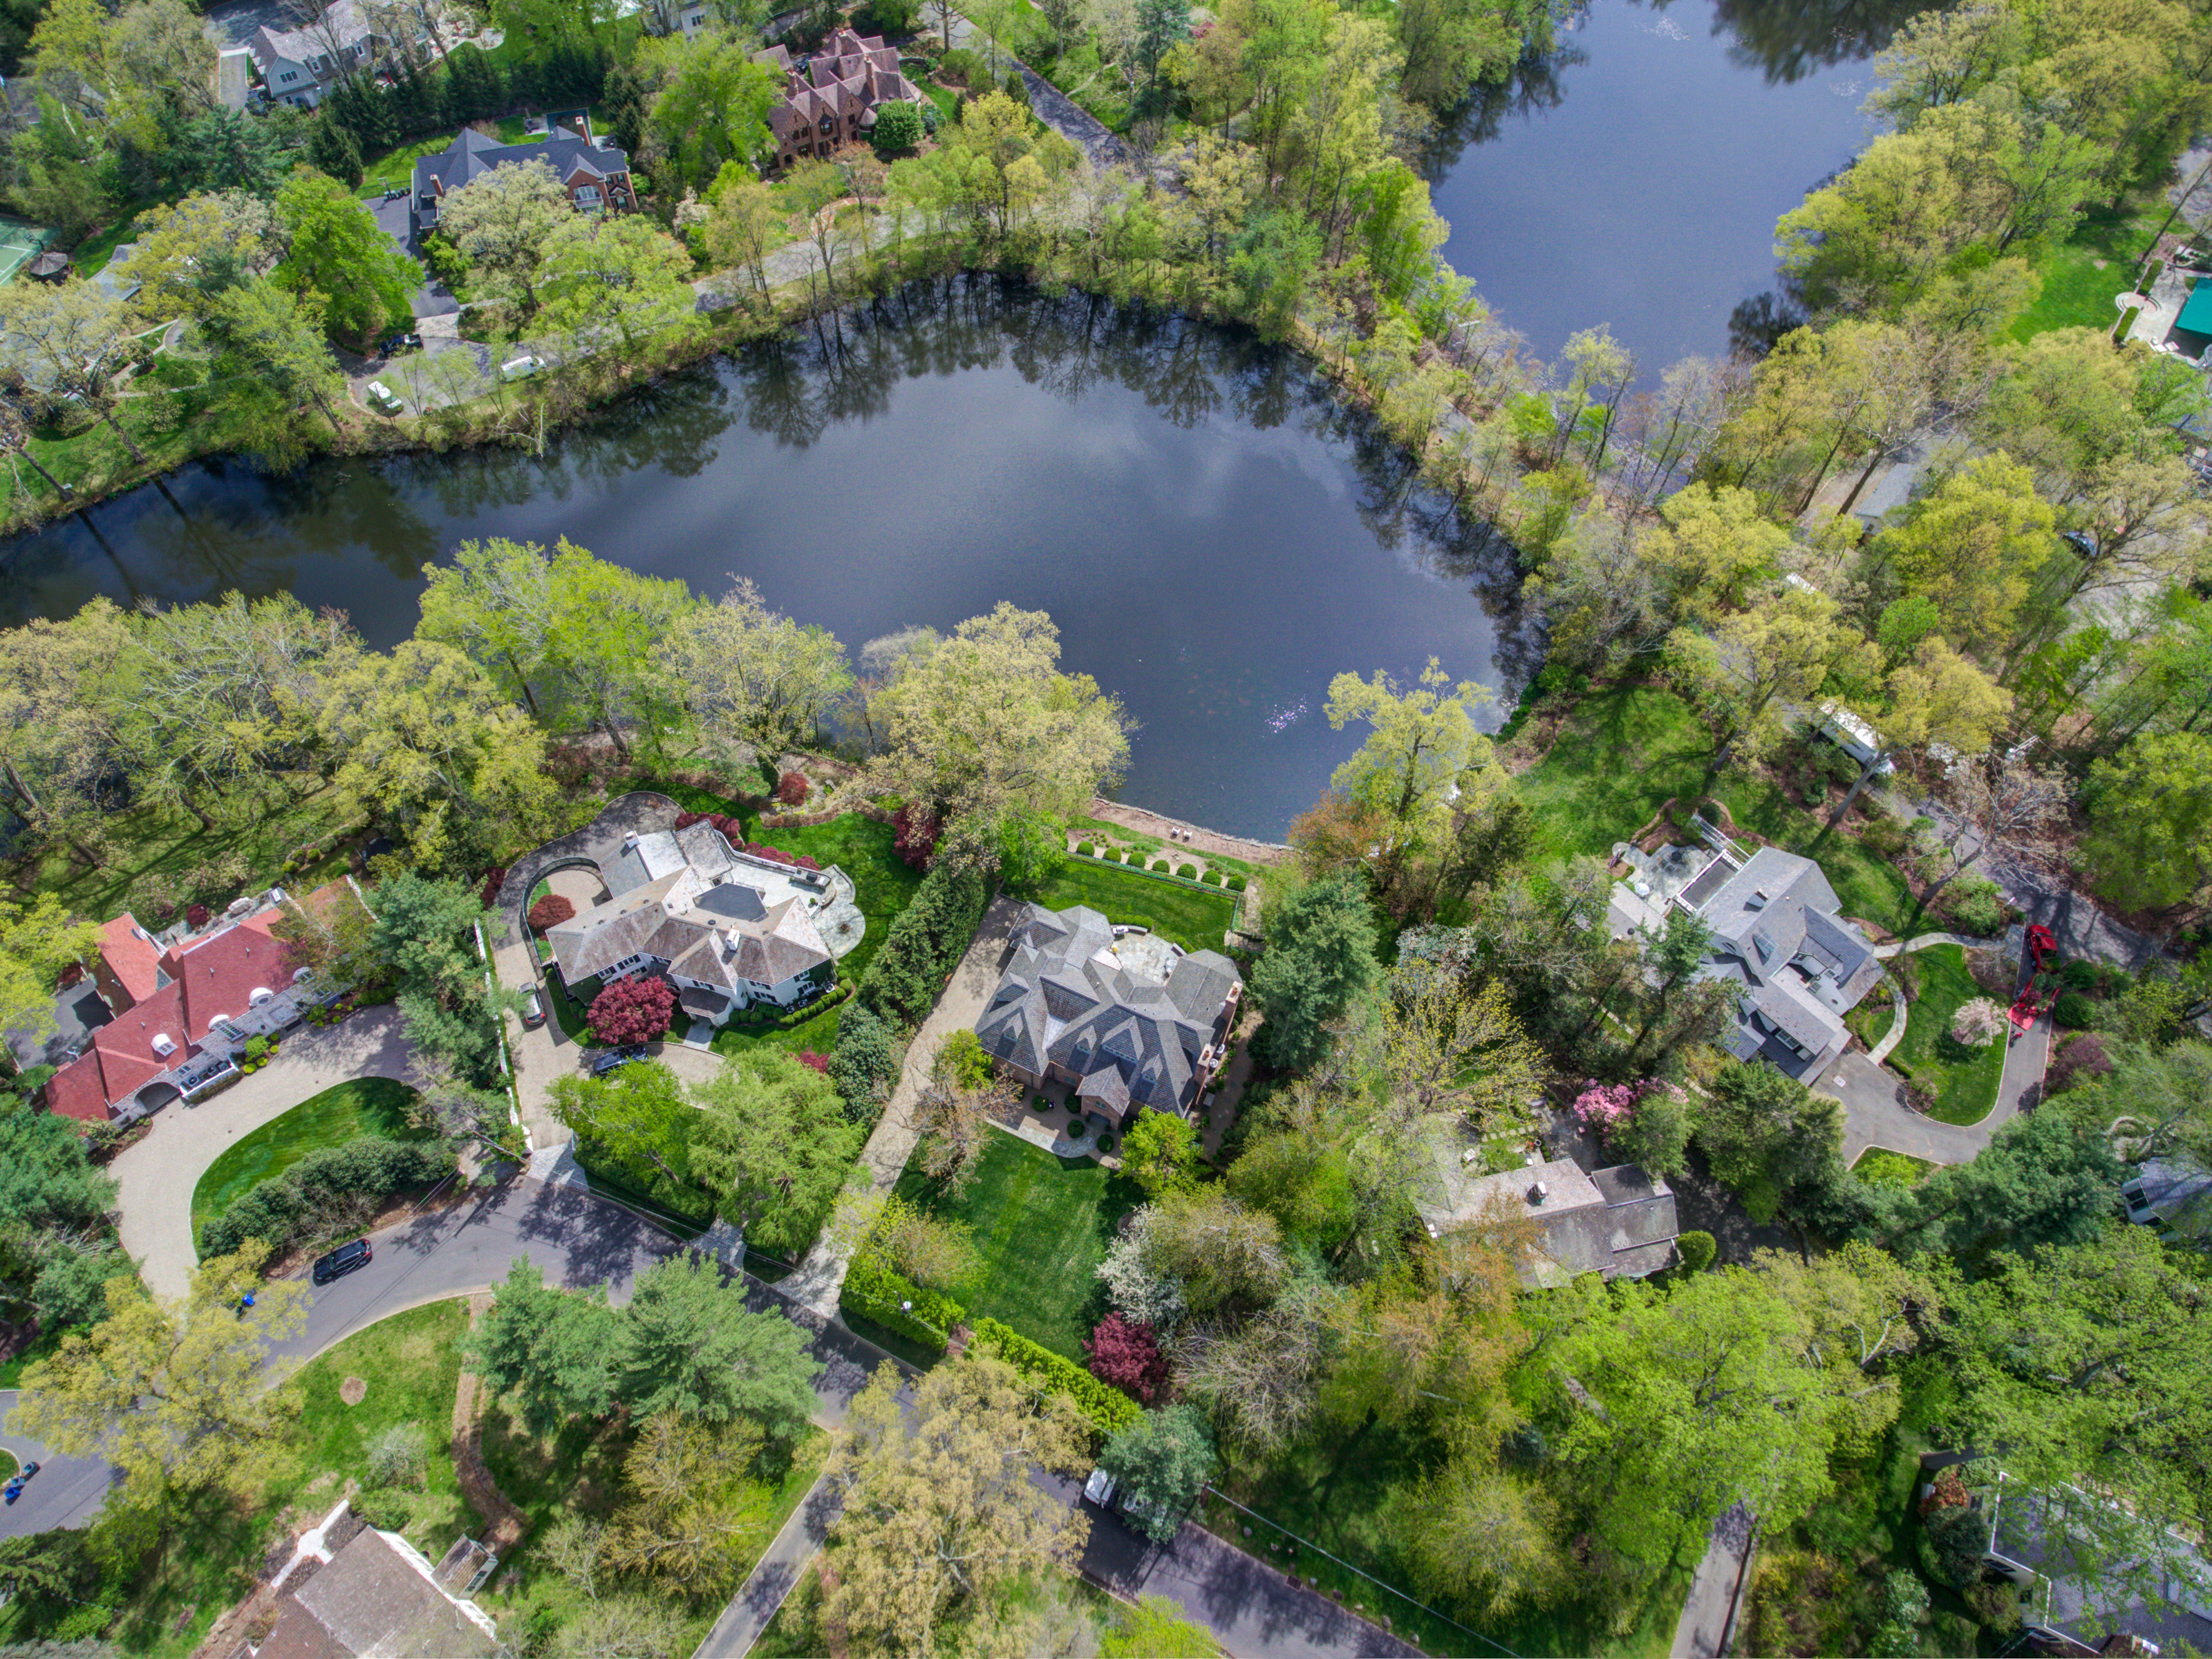
- Luxury listings, waterfront homes, or properties with great exterior lighting.
- Listings where you want to create emotional appeal and “wow” factor.
Considerations:
- Requires planning and staging all lights before the shoot.
- Works best in clear or partly cloudy weather for colorful skies.
- The sky “wow” factor can often be unpredictable — not all sunsets are the same.

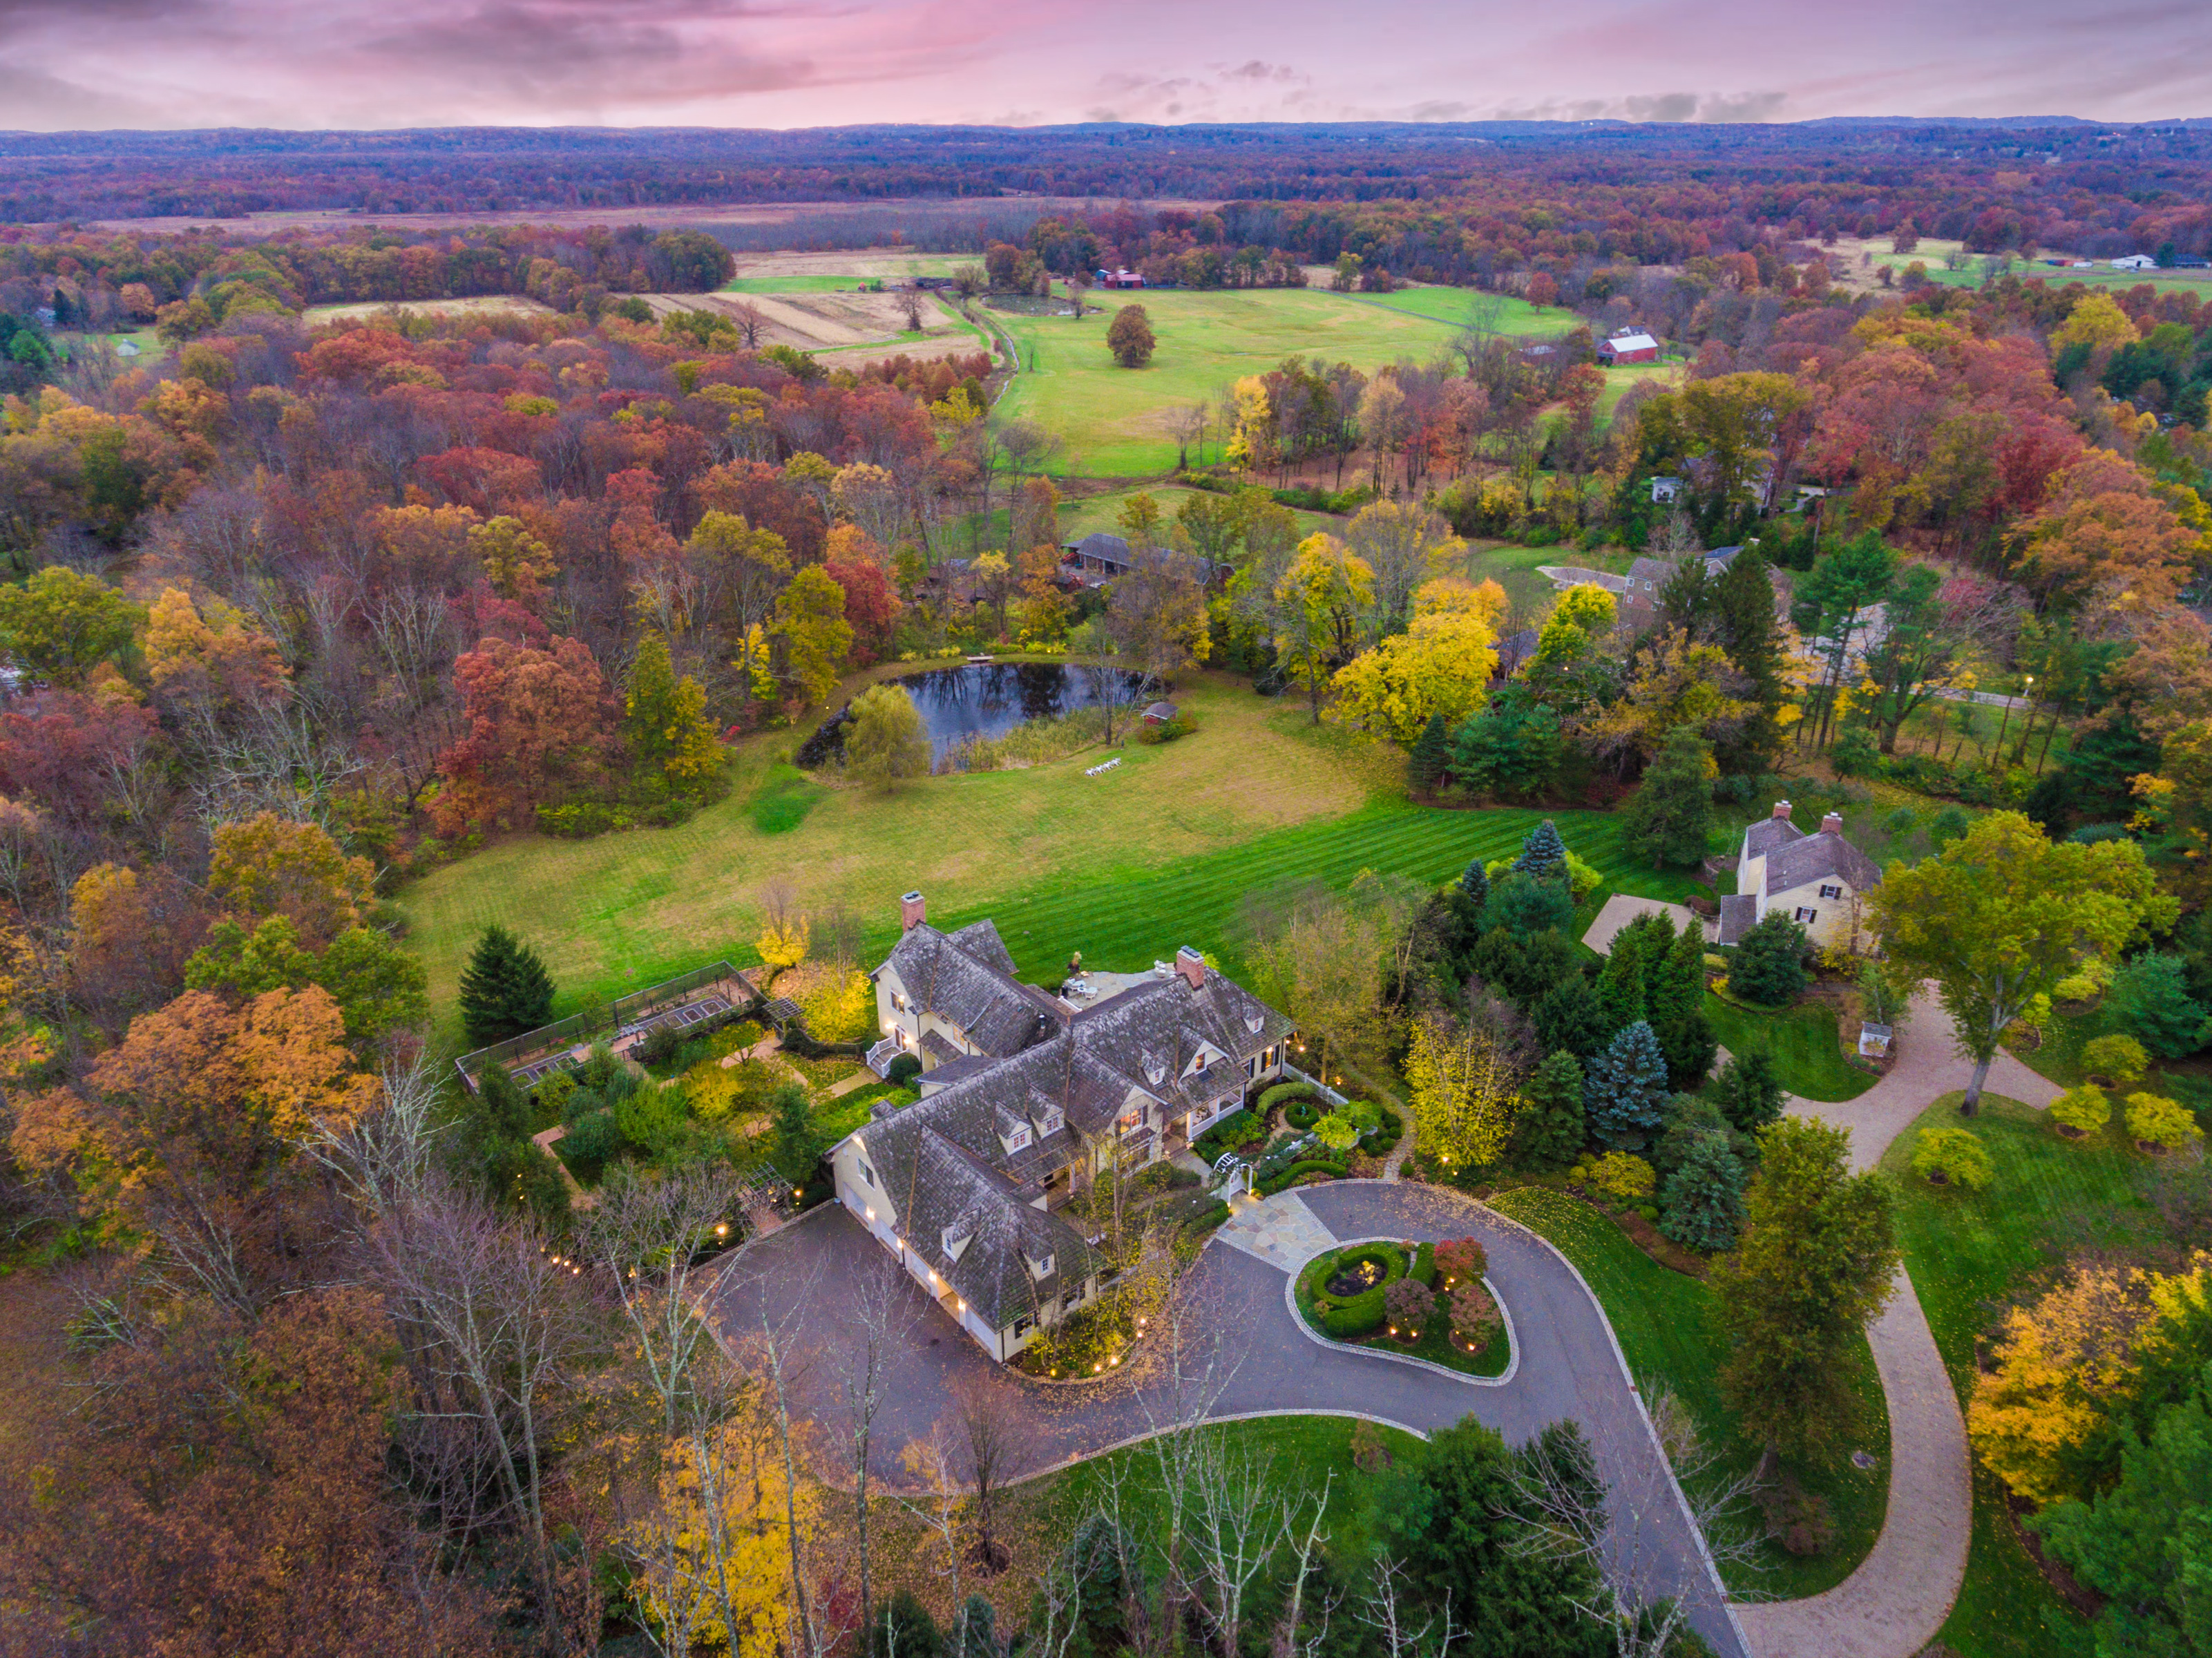
6. Seasonal Considerations for the Northeast
- Spring: Cherry blossom trees are beautiful and can add such a nice touch to any exterior photograph. The only issue is, these trees are only in bloom for a few weeks out of the year. The spring market is busy, so make sure that you book your shoots in advance if your listing has cherry blossom trees.
- Summer: The sun is the highest in the sky and you have more time to work with. You can schedule a shoot confidently from 8:30am to 4:30pm. Just keep in mind that your dusk shoots will have to be scheduled late — around 8:30pm.
- Fall: The lighting in the fall is not the issue — its the leaves! You want to make sure that your listing has done their fall cleanup before you have the exterior photographed. Otherwise, you may spend more time and money than anticipated on Photoshopping the yard
- Winter: The sun is the trickiest during this time of year. With limited sunlight, the best time for photographs is between 10am and 2pm. You also need to pay attention to the landscaping around the property and the direction of the sunlight. One of the biggest issues we run into is harsh shadows from trees.
It is important for you to have a conversation with your homeowner in regards to the exterior lighting of the property. Most photography companies can work with overcast days — those are actually the best to photograph homes in! The shorter the days are the trickier it gets when you deal with harsh sunlight and shadows.
7. Indoor Lighting Tips to Match the Time of Day
No matter when you shoot:
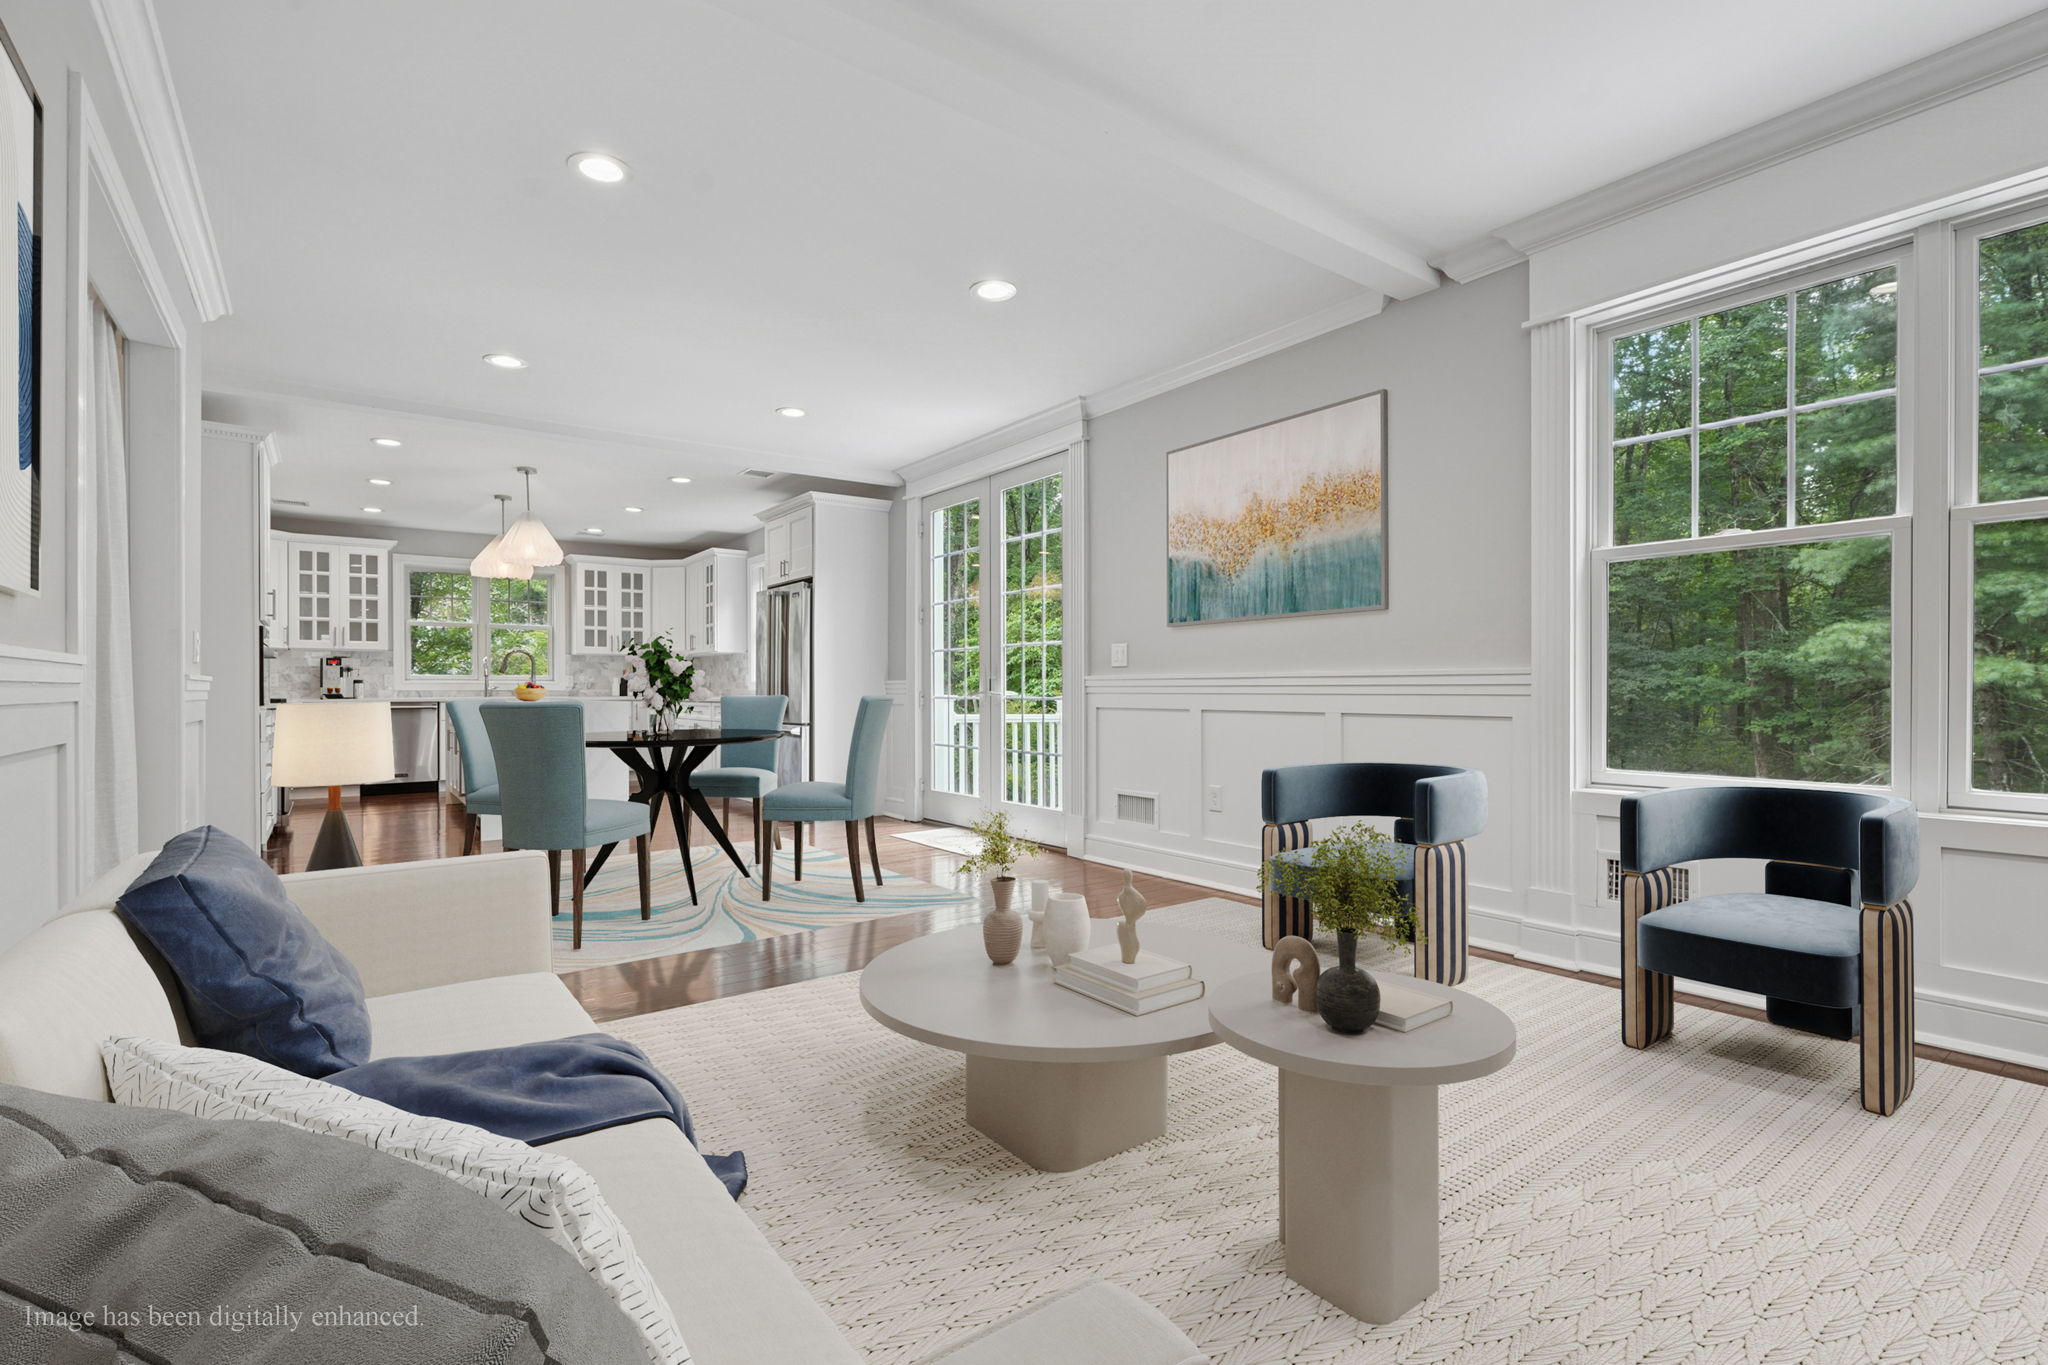
- Turn on all interior lights to add warmth.
- Match bulb temperatures to avoid clashing warm/cool tones.
- Open blinds and curtains to balance natural and artificial light.
This ensures that your interiors feel consistent, even if exterior lighting varies.
8. Working With a Company That Knows the Local Light
A professional real estate photographer familiar with the lighting in the Northeast will:
- Understand which times work best for specific property orientations.
- Plan around local weather patterns and daylight hours.
- Advise their photographers to adjust camera settings and editing to make the most of each lighting condition.
This local knowledge can be the difference between a good shoot and a truly standout listing.
Download Our Photo Guide for Realtors
Conclusion
The best time of day to photograph a home in Northeast depends on its orientation, features, and the mood you want to convey. Whether it’s the soft freshness of morning, the warmth of golden hour, or the dramatic elegance of twilight, choosing the right moment ensures your listing photos capture buyers’ attention and imagination.
Call-to-Action:
At Visual Marketing & Design, we know how to time each shoot for maximum impact — because in real estate photography, timing isn’t everything… it’s the only thing. Contact us today to schedule your perfectly timed photo session.
Related Blogs

A checklist for your sellers
A guide to help sellers prepare their home for photography and marketing.

The FIVE things to consider when preparing your home for photography
Five important things to discuss with your realtor when preparing your home for photography.

Six reasons why you should stage your listings
Why staging your listing is a great return on investment

The FIVE reasons why you should ALWAYS get professional photography for your listings.
Reasons why professional photography is crucial to your marketing plan.

Make exterior photography a lead generator
A guide on how to generate leads and build content for social media marketing with exterior photography

Photography Service Guide for Realtors
A complete guide for realtors on how to utilize photography for their listings

Why Choose a Real Estate Professional Photography Company for Marketing a Home?
Sell homes faster by using professional photography with media company like VMD. Get the best ROI on your time and money...
Real Estate Photography ROI: How Great Photos Increase Sale Price
Real Estate photography ROI in the Northeast. How spending money on professional photography will help your listings sel...

The Biggest Mistakes Sellers Make Before Listing Photos (and How to Avoid Them)
Great real estate photos don't happen by accident - they're the result of careful preparation and attention to detail. W...
The Magic of Twilight Photography - When and Why to Use It
How Twilight Photography can create a mood that resonates with buyers and boost your listing online engagement.
Before & After - How Editing Transforms Your Listing Photos
The benefit of editing real estate photography. How HDR and other editing techniques can enhance your listing photos.
Virtual Tours vs. Photo Galleries - Which Gets More Buyer Attention?
Real estate photography companies have started offering Virtual Tours to their customers. Is there a clear benefit over...

Real Estate Success Starts with Visual Consistency—Here’s Why
Why all top producing real estate agents focus on visual consistency to build their brand.
Aerial Photography: The Secret to Stunning Real Estate Listings
Aerial photography captures stunning property views, location highlights, and unique perspectives buyers can’t ignore
Drone Photography for Real Estate: When to Use It and Why
What type of properties warrant drone photography and the things that realtors need to take into consideration when usin...

The Psychology of Real Estate Photography: What Buyers See First
Buyers make a split-second decision on whether or not to click on your listing. The presentation of your home is a major...
Seasonal Real Estate Photography Tips for the Fall
Seasonal photography can transform your real estate listings. Discover why capturing each season matters and how to show...